
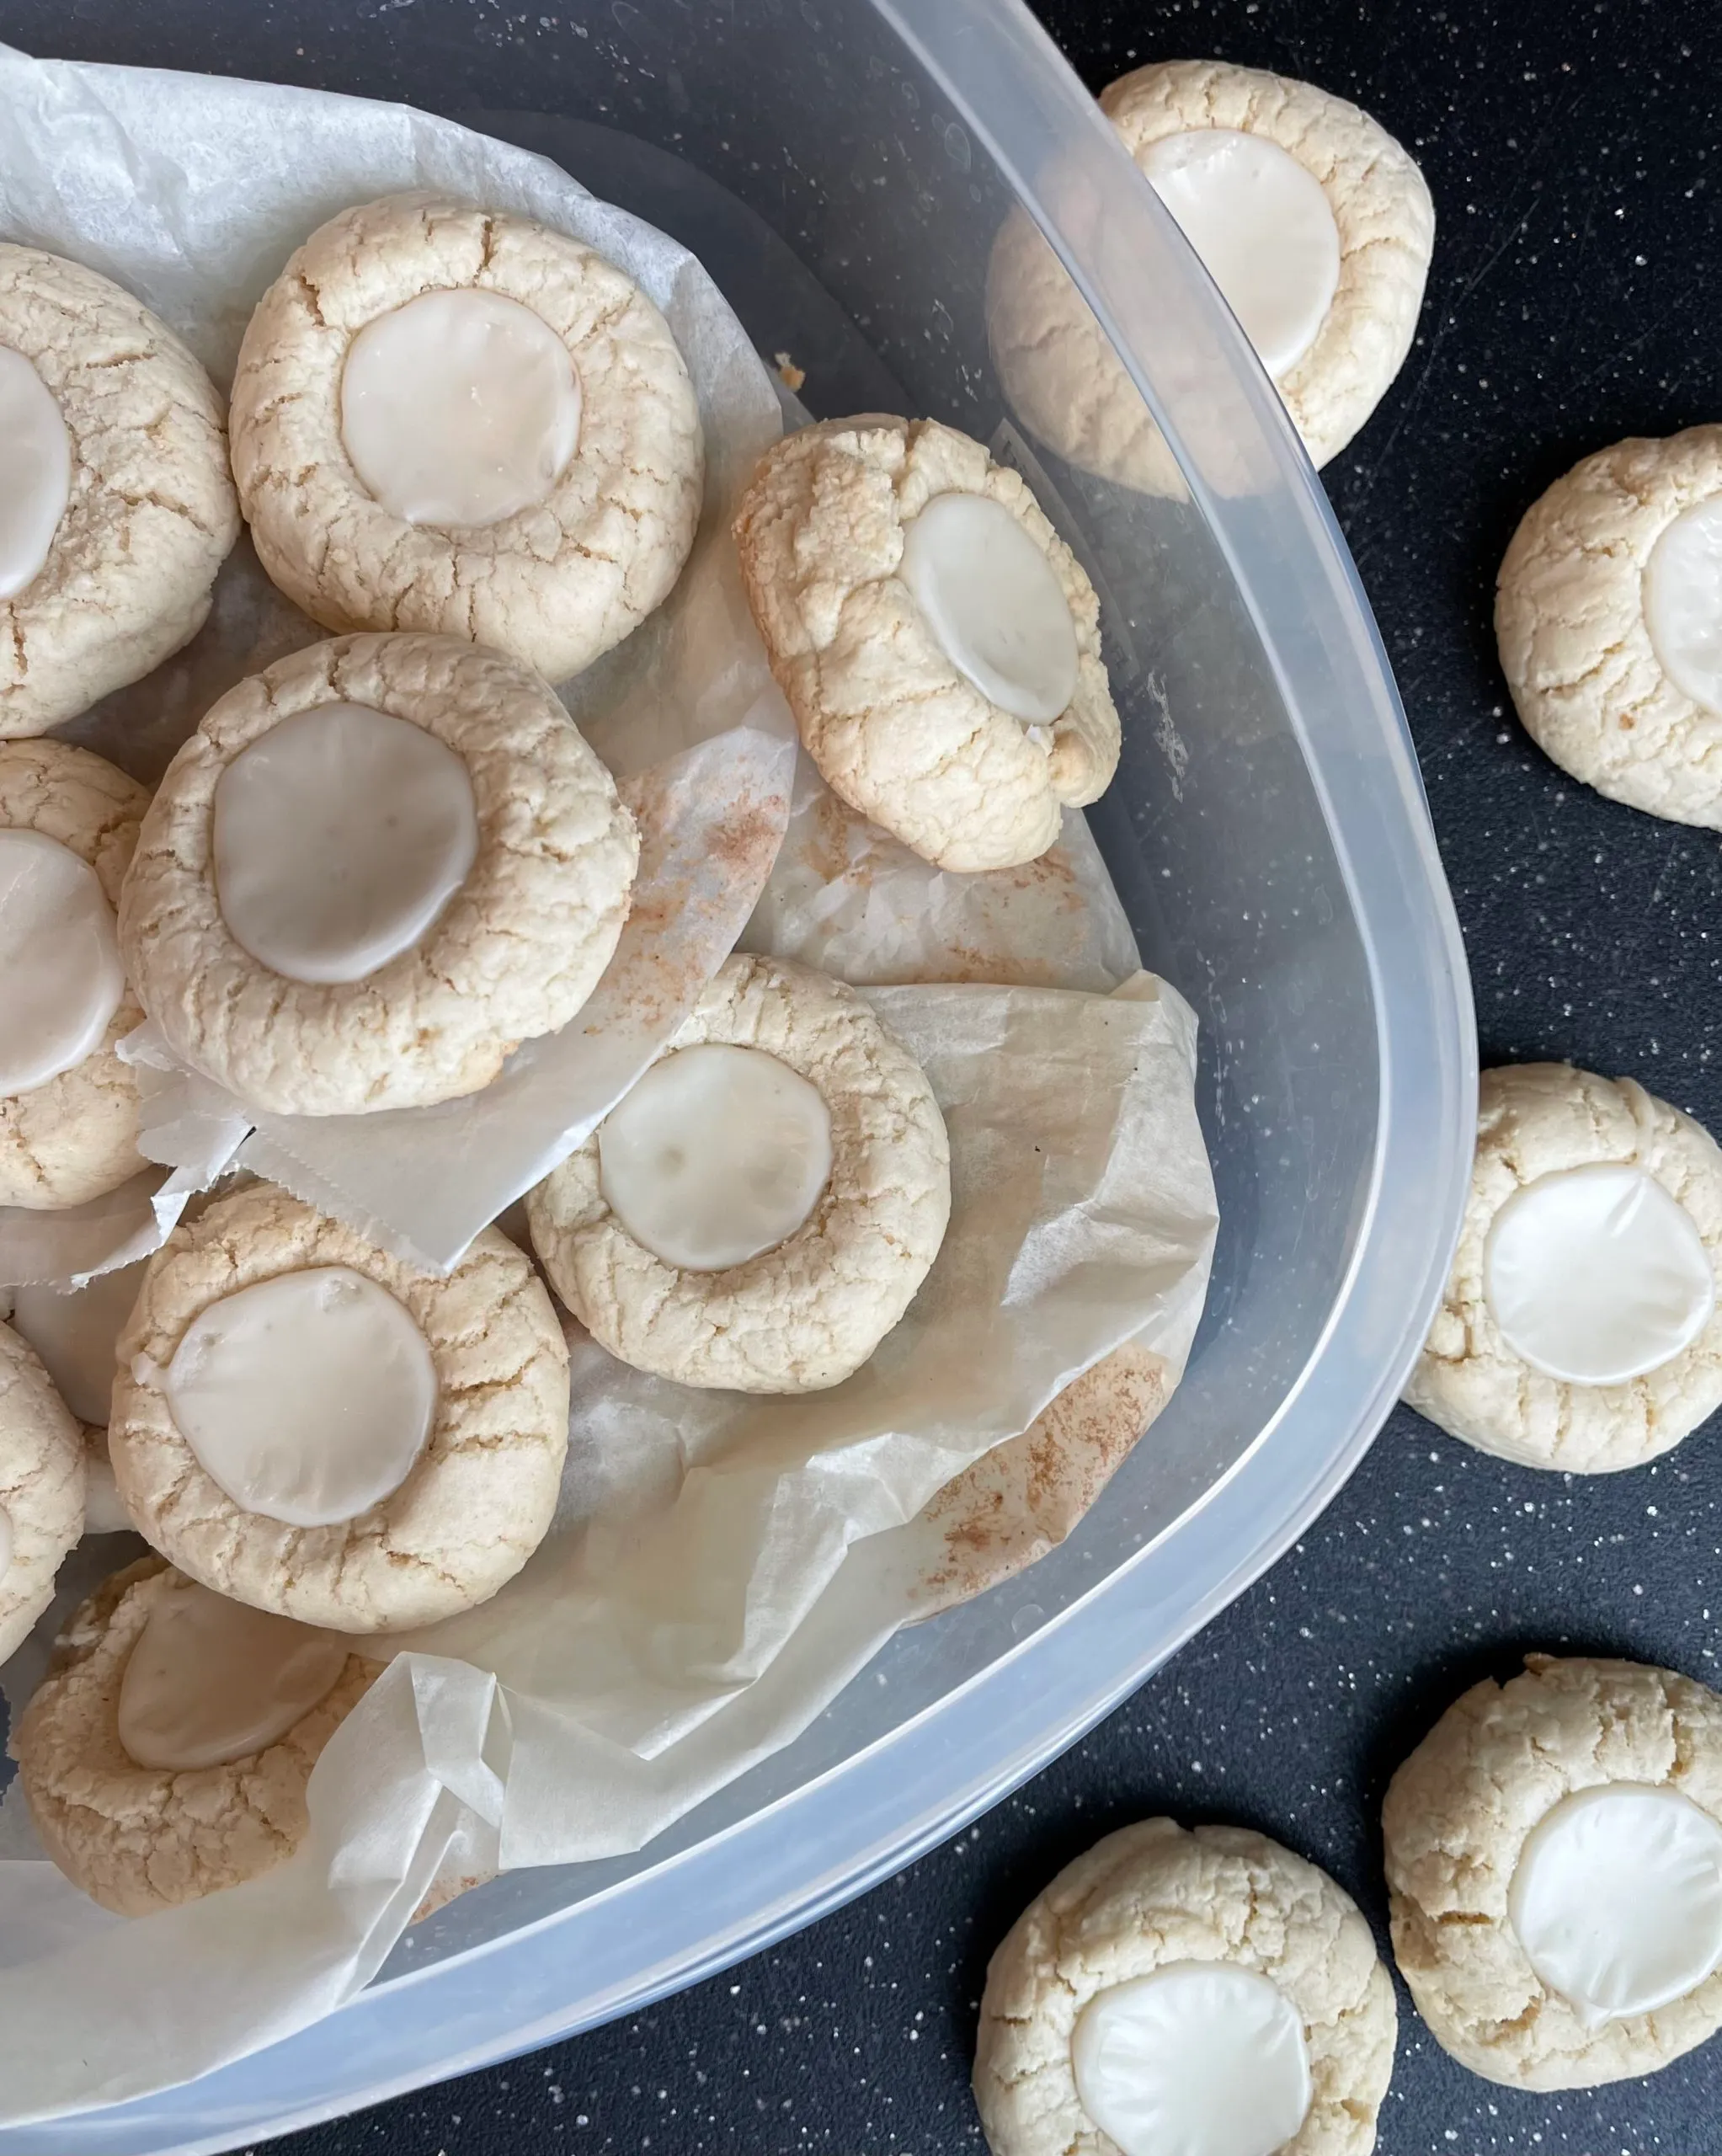
These maple thumbprints are fall personified and happen to be THE BEST cookies I’ve ever had. They may be a bit more time consuming than other cookies to make, but they are worth every second spent making them.
Maple Thumbprints
These maple thumbprints are THE best cookies I’ve ever had. They may be a bit more time consuming than other cookies but they are worth every single solitary second spent making them.
Ingredients:
- 2 cups All-purpose flour regular or gluten free
- 1/2 tsp baking powder
- 1/4 tsp salt
- 1/2 cup vegetable shortening
- 1/4 cup brown sugar
- 2 Tbsp sugar
- 1/3 cup maple syrup
- 1 large egg
- 1 tsp vanilla extract
For the Icing:
- 1 1/2 cup powdered sugar
- pinch of salt
- 2 Tbsp maple syrup
- 2-3 Tbsp water start with 2 Tbsp and then add in more a 1/2 Tbsp at a time until you get a thick but smooth texture
Instructions:
- In a small mixing bowl, whisk together (gluten free) flour, baking powder, and salt. Set aside.
- In a separate mixing bowl, beat shortening with a hand mixer on medium speed (around 3-4) until light and fluffy, about two minutes. Add in sugar, then the maple syrup. Finally, add in the egg and vanilla.
- While still mixing, add in the flour mixture and mix on low speed (1-2). Scrape down the sides of the bowl as needed. Place dough in the refrigerator and chill for 2 hours (and up to 3 days).
- Preheat oven to 350°F/180°C. Line two baking sheets with parchment paper or a silicone liner and set aside.
- Remove dough from the refrigerator. Using a small cookie scoop (1 Tbsp size), scoop out dough and roll into a ball, placing the dough at least 2 inches apart. Using your thumb or a 1/2 tsp measuring spoon, press a well into each dough ball.
- Bake cookies for 11-12 minutes. Once the cookies are done, press a small spoon (1 tsp measuring spoon is perfect for this) into the centers again. Continue until all dough is used. I got about 3 dozen cookies from the batch.
- While the cookies are cooling, make the icing. Whisk together the icing ingredients (powdered sugar, salt, maple syrup, and water) until smooth. You want the glaze to be thick but pourable.
- Transfer icing to a small sandwich size ziptop bag and seal. Cut off a small corner and use to pipe the icing into the cookie wells. Allow to set before transferring to an airtight container.
Notes:
The gluten free and wheat free status of this recipe is based on your choice of flour. My favorite gluten free flour is the King Arthur All-Purpose Flour blend, but feel free to use whatever you use and have on hand.